


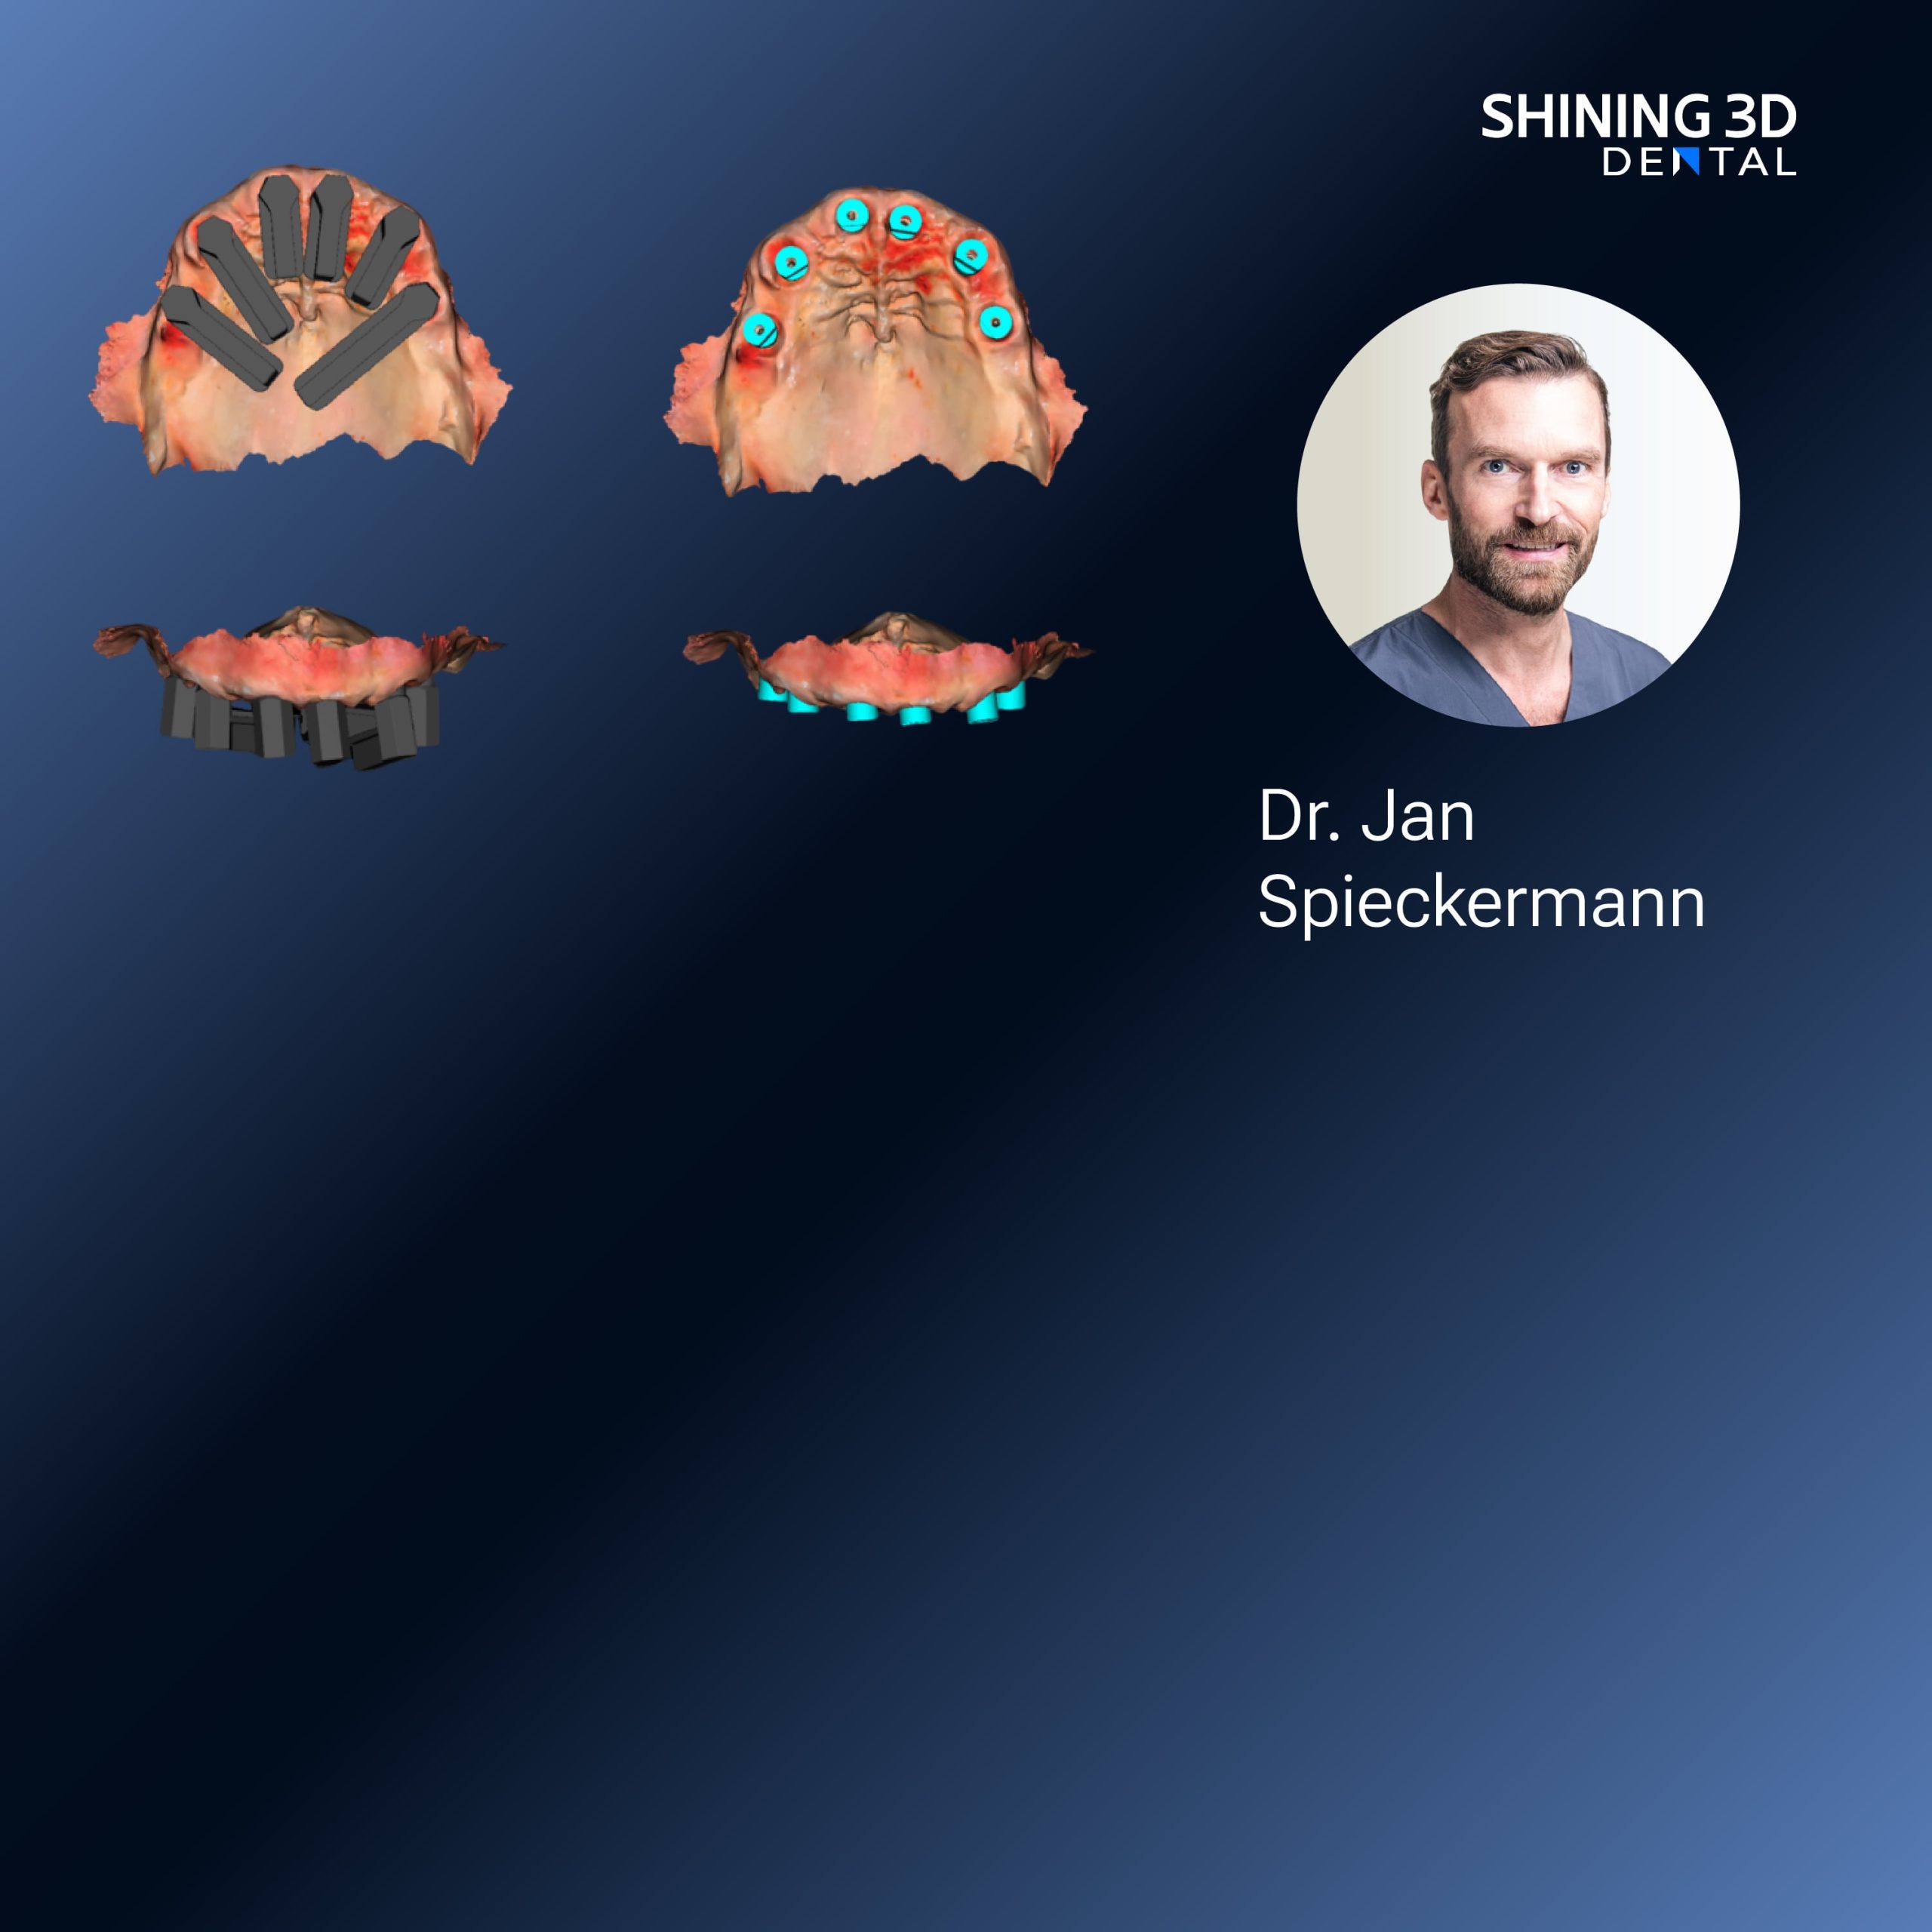
Quick reality check for clinic owners and dentists
You want reliable impressions fast, not stress one. If you already think digital is better, confirm lah: an intraoral scanner captures your patient’s teeth and soft tissue as a 3D model, replacing messy trays and alginate. Some teams combine this with a Photogrammetry 3D scanner when they need full-arch accuracy for complex cases — so you don’t throw away options before trial. This piece speaks to what you do, step-by-step, and what to watch out for.
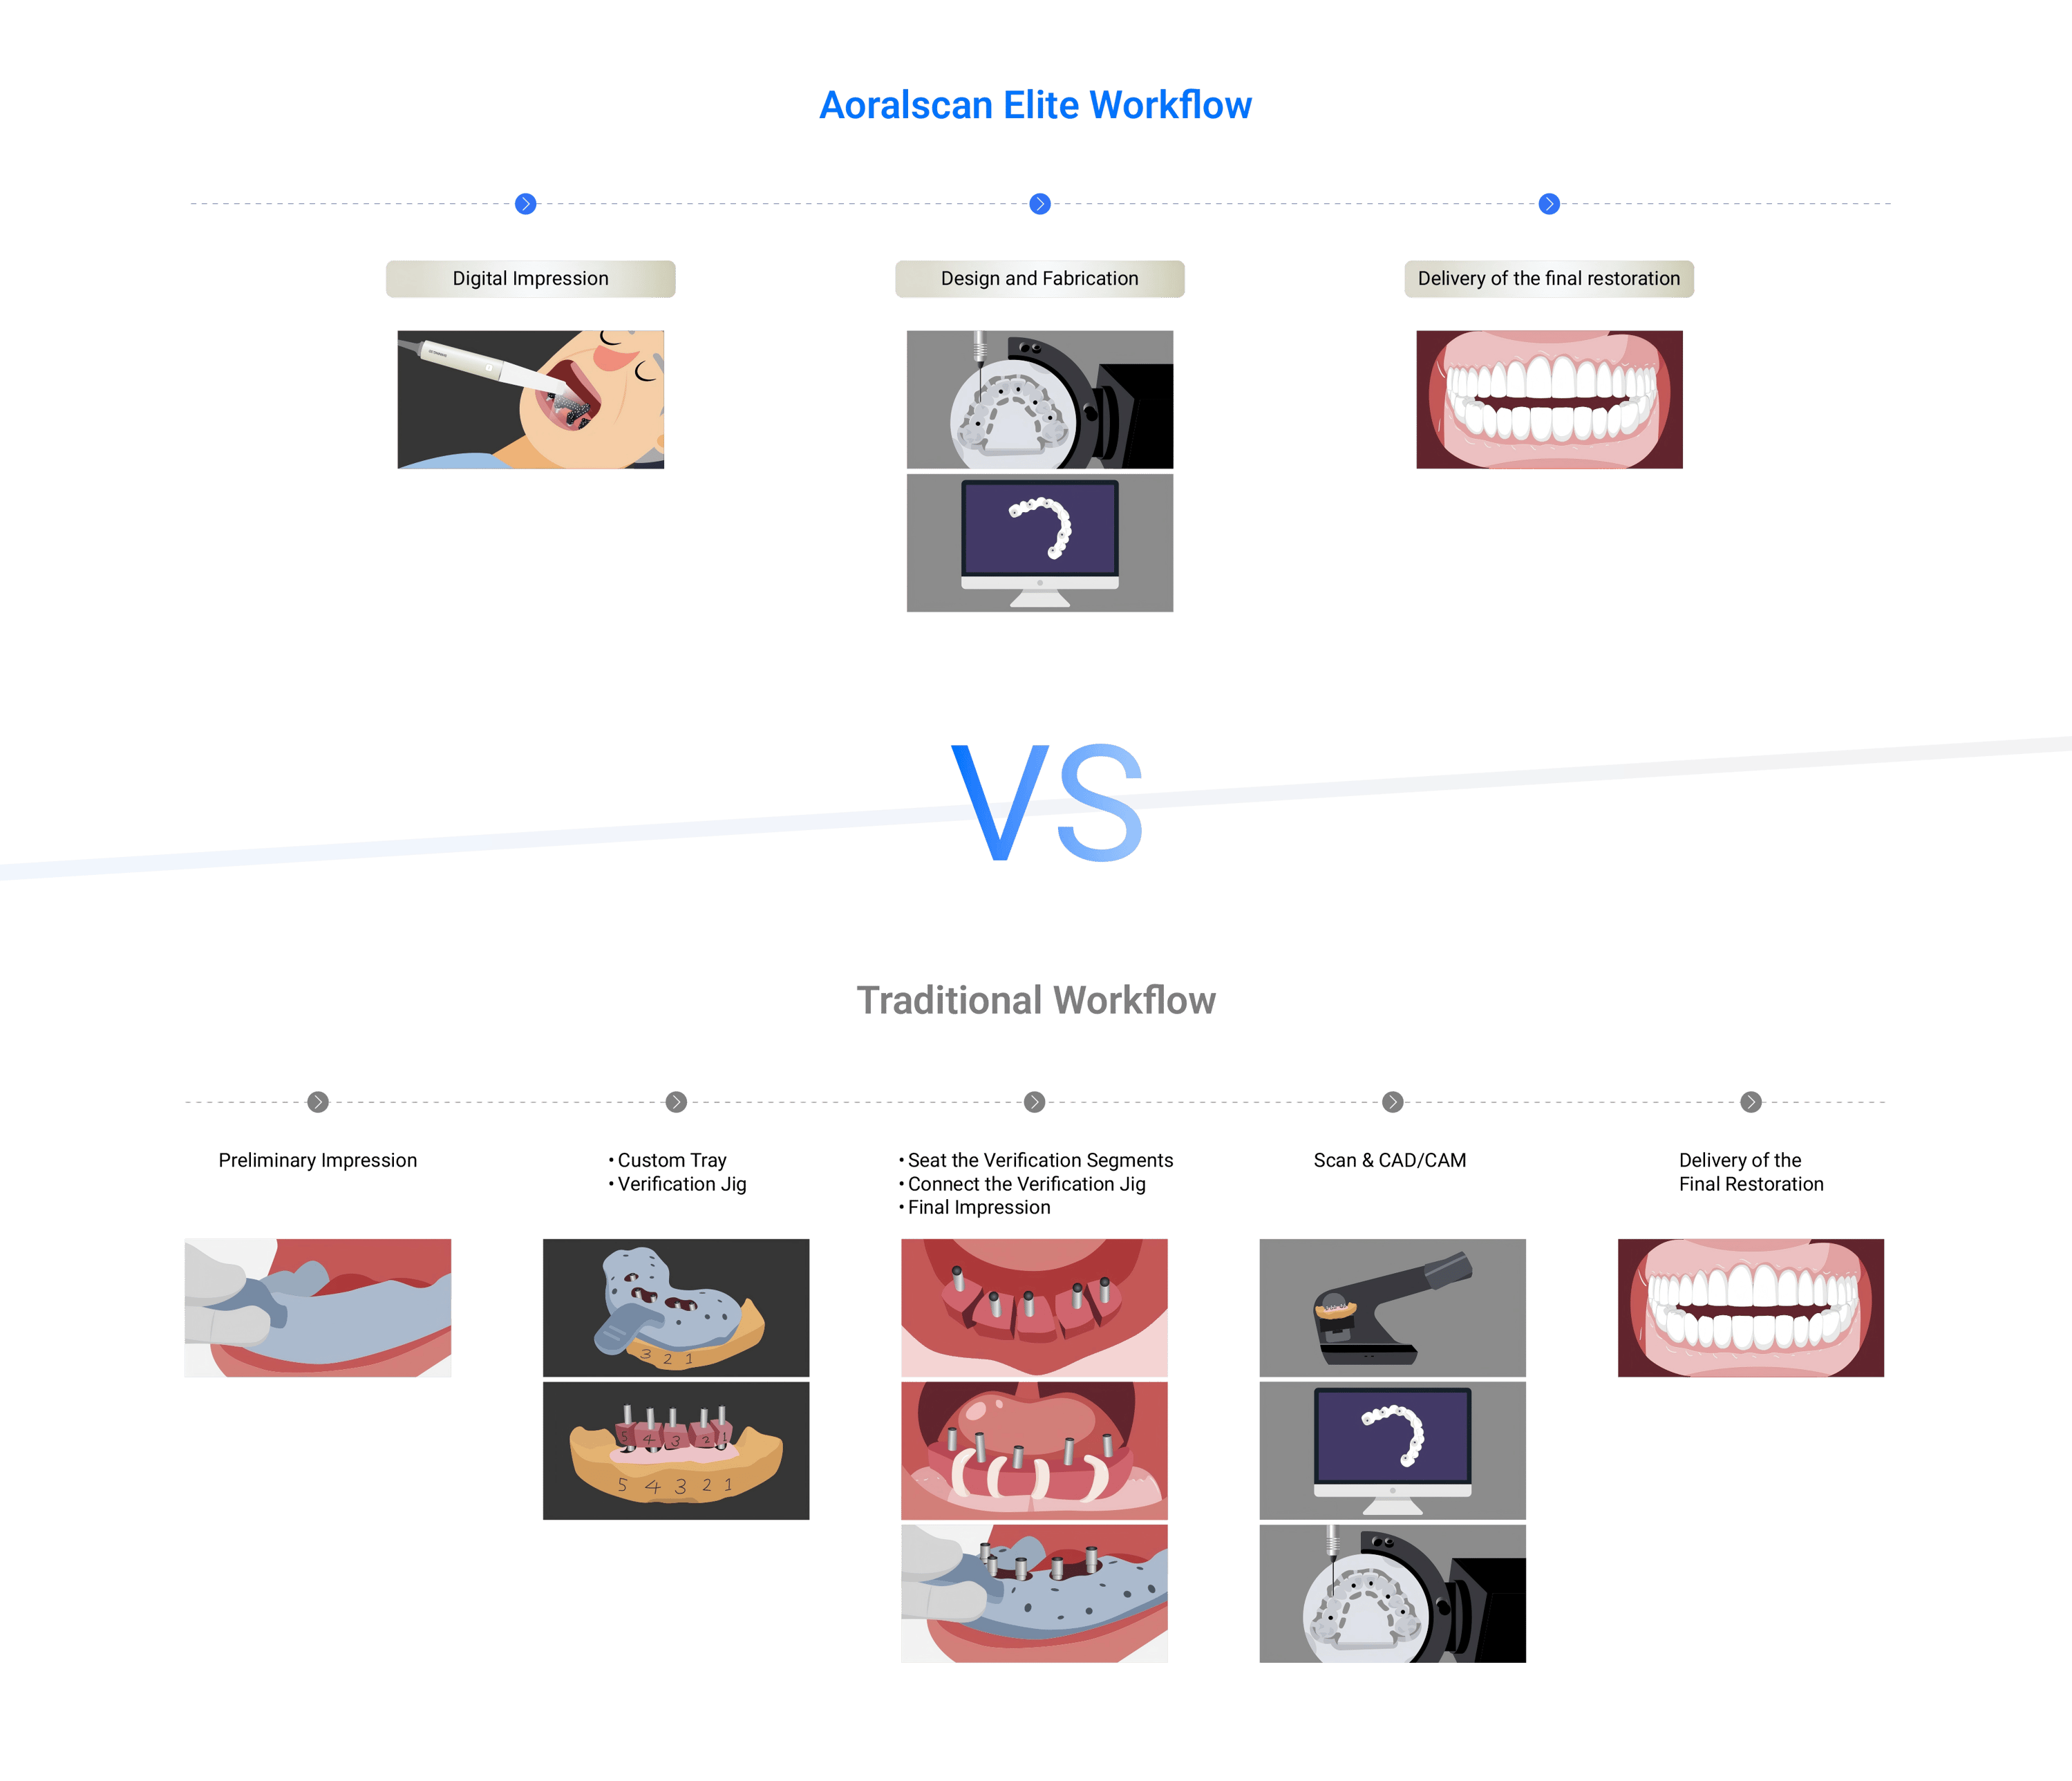
What the device actually gives you
It produces a high-resolution 3D surface file (usually STL, PLY or OBJ). You get instant visual feedback, margin checks, and the file to send to labs or CAD software. The benefits are concrete: fewer remakes, faster lab turnaround, and clearer patient communication. Accuracy varies by model, scanning technique, and the case — anterior single crowns versus full-arch implant guides are different beasts.
How you use an intraoral scanner — a pragmatic workflow
Start with patient prep: dry the field, control saliva, and stabilise the tongue. Scan in ordered passes: occlusal first, then buccal, then lingual — or use the pattern your scanner vendor recommends. Pause to check stitching as you go; if data gaps appear, go back immediately. Export the scan, review margins in your software, and either send to the lab or design in-house. Short sessions help with patient comfort. Practice a few cases, don’t try full-arch on the first day.
Common mistakes clinics make and how to avoid them
Rushing the scan — leads to stitching errors and voids. Over-reliance on automatic filters — can mask real margin problems. Poor isolation — saliva and blood break tracking. Wrong scan path — increases rescans. The fix: slow down, watch live stitching, train staff on consistent scan patterns, and keep a checklist for prep. Also calibrate and update firmware regularly; small firmware lags sometimes create big annoyances.

Alternatives and when to pick them
Conventional impressions still make sense for certain labs or when you need a quick physical model. Photogrammetry and model-scanning workflows shine for multi-implant full-arch because they capture spatial relationships over large spans. For instance, at IDS in Cologne, many labs demonstrated workflows pairing optical scans with dental Photogrammetry for full-arch implant accuracy, showing the method works in real-world lab and clinical settings. Choose by case complexity, lab capabilities, and clinic throughput.
Practical checklist when choosing a scanner
Scan accuracy for your typical cases; software ease and interoperability with your lab; speed and ergonomic fit for operators; service and local technical support; total cost of ownership (licences, consumables, upgrades). Trial it on a live patient first. Train team members together so technique is consistent across operators.
Bottom line — what delivers for your patients and practice
You want predictable fits, fewer remakes, and workflows staff can repeat reliably. A good intraoral scanner, paired with sensible technique and realistic case selection, does that. For clinics that want products plus supporting workflows and global service, consider solutions from SHINING 3D DENTAL as part of a practical, clinic-ready digital transition. Steady practice, steady results — lah.
